
How to Build Awesome Table Tops
Building a quality table top isn’t as simple as clamping a few boards together. In my newest video, I guide you through all the steps to build table tops that will last with just a few easy to make jigs.
Step 1 - Selecting your material
When selecting your boards you want to make sure they are straight with tight grain, and avoid the “pith” or center of the tree. Here’s an example of what I’m talking about,
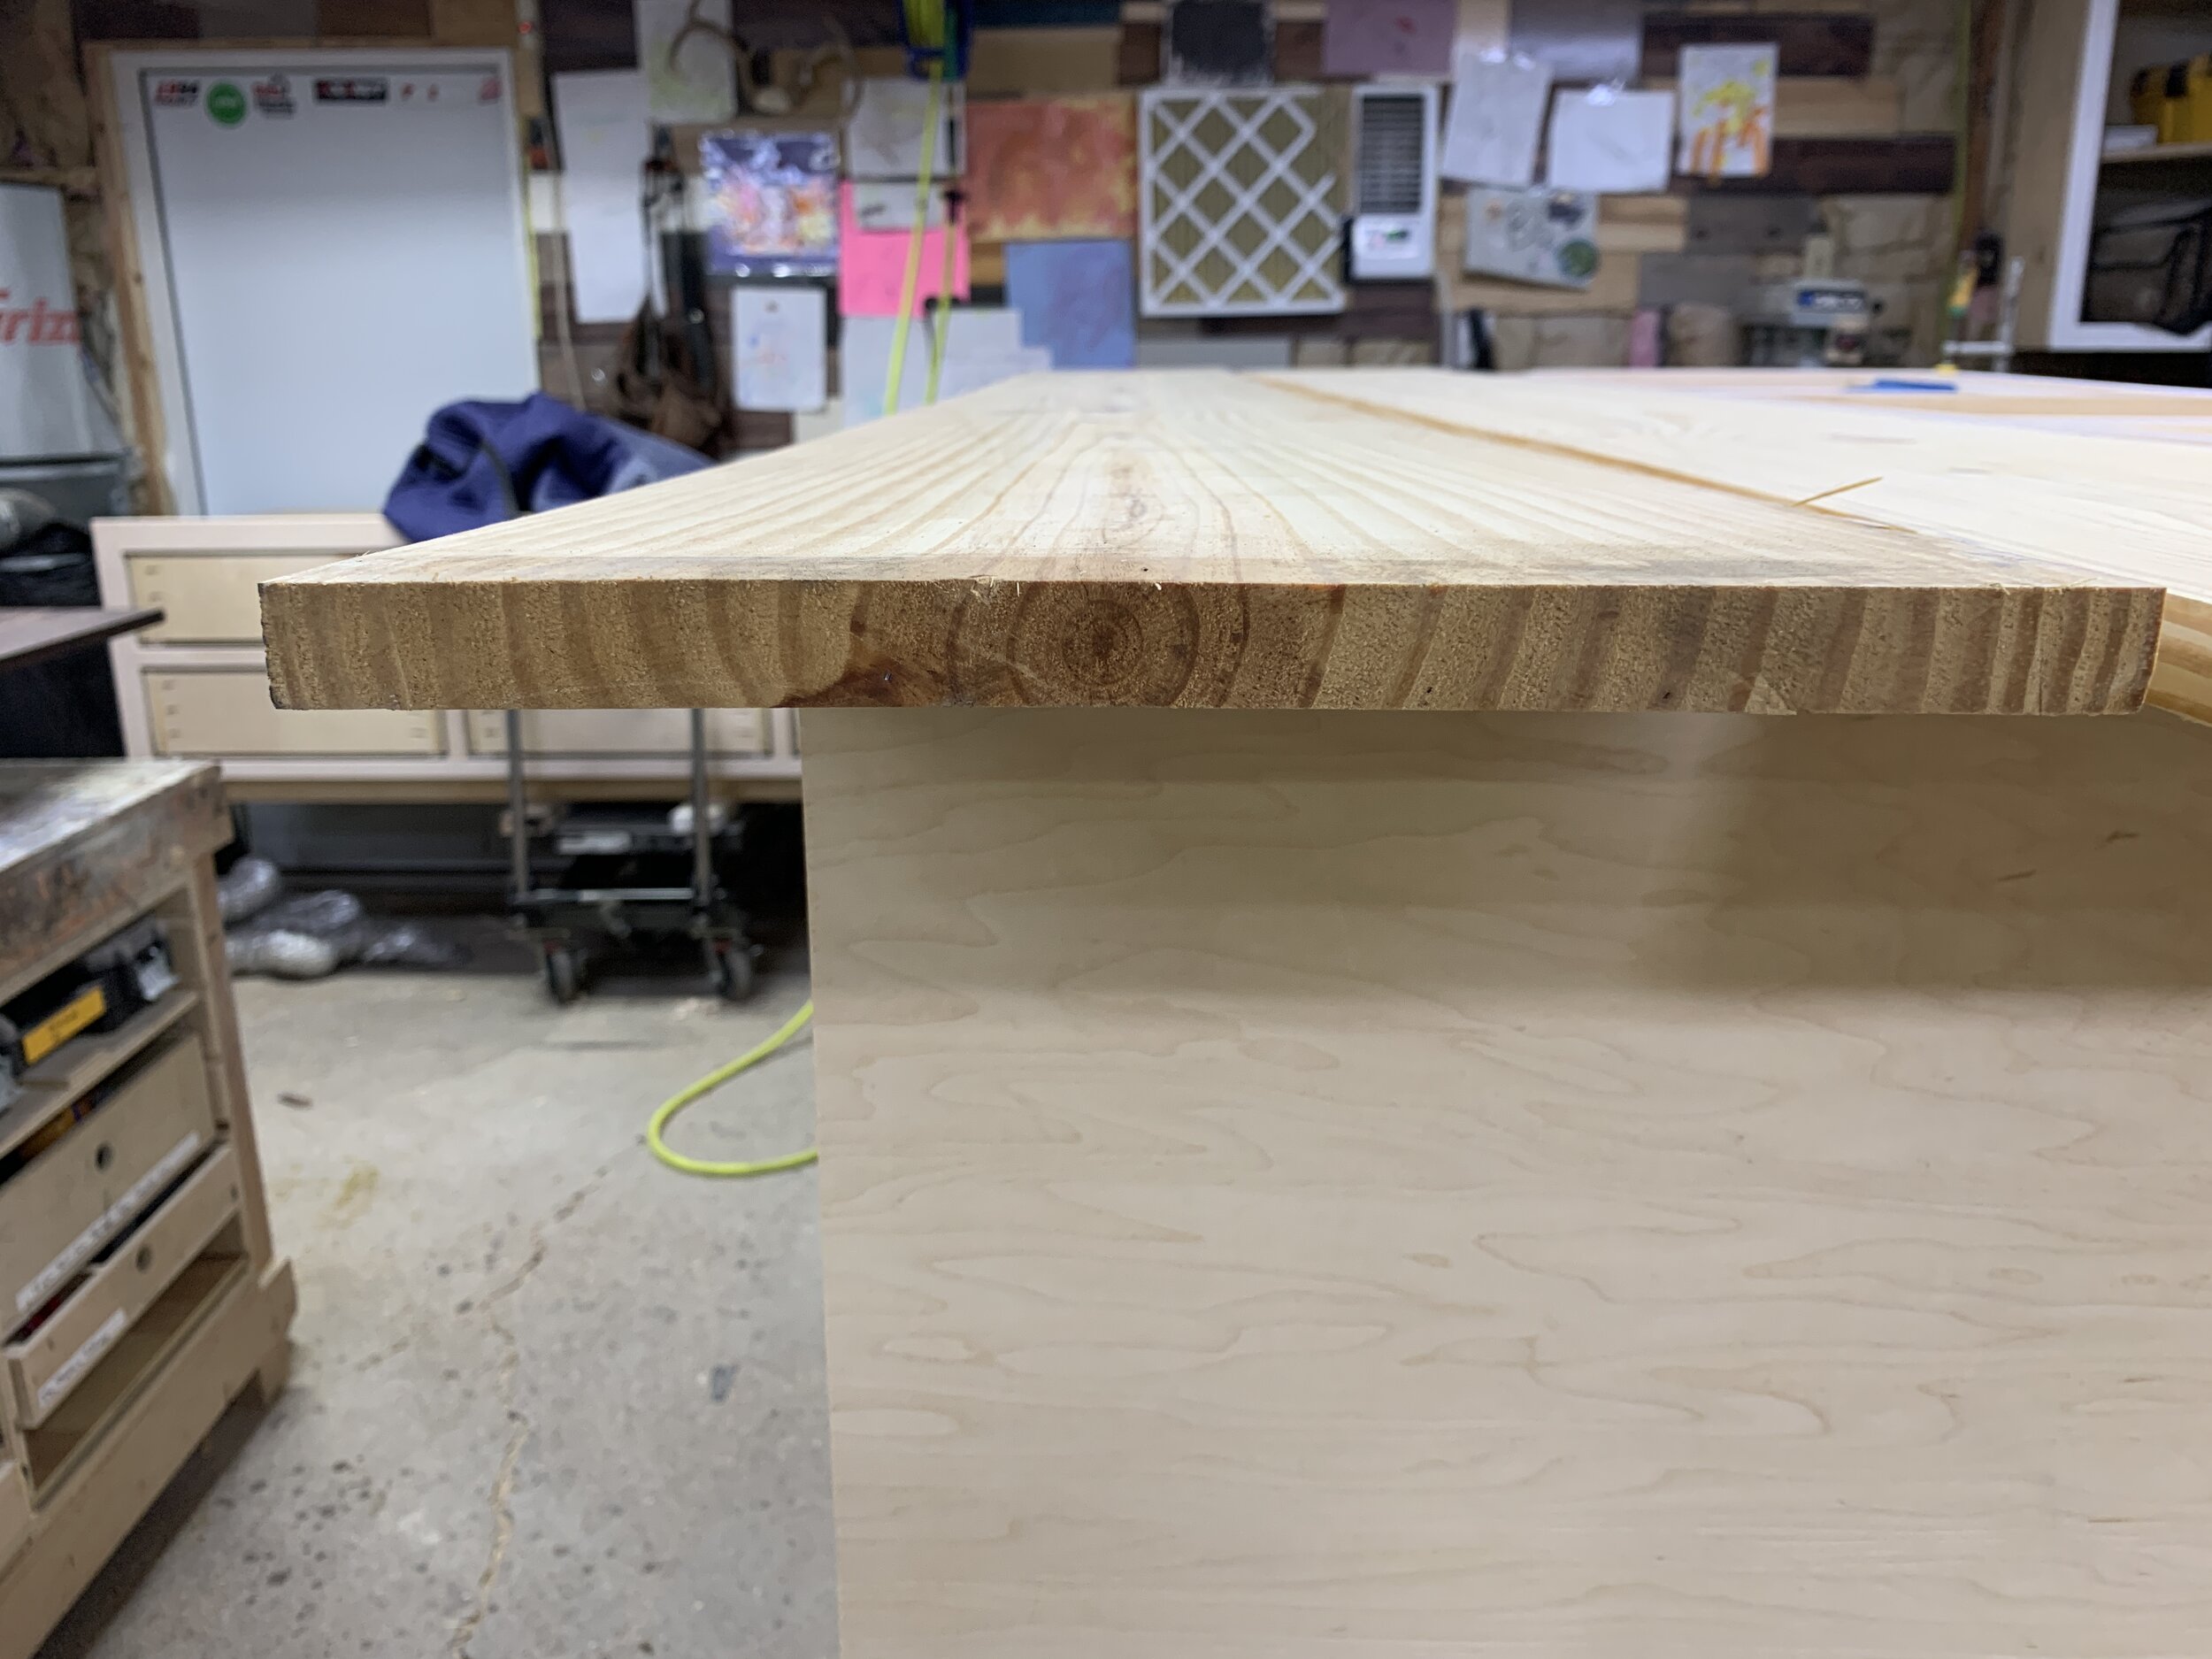
BAD. Notice the big spacing between the growth rings. Notice it’s cut right from the center. This board will warp, twist, and crack unfortunately it’s not good for much.

GOOD. The growth rings are tighter together. The Pith (or center) is not present. It’s much better for a table top, although I may still want to cut out an inch or two from the center to avoid cupping.
Step 2 - Get a straight edge
Just because a board looks straight doesn’t mean it is straight. There are many ways to get a straight edge on a board
You can buy a hand plane
You can invest in a power jointer
You can rip off and edge with a track saw or saw guide
You can make a table saw jointing sled.
I chose to make a jointing sled for my table saw out of a piece of plywood and Micro-Jig Matchfit Dove Tail Clamps.
I need to make a video but here’s a picture.

You put one edge of the sled against you table saw fence and the overhang your board slightly on the blade side. This will get you a perfectly straight edge. Then just rip the board to its final length and you’re done.
Step 3 - Add Dominos, Dowels, or Biscuits (Optional)
While adding dominos or biscuits isn’t 100% necessary, I find it’s a useful, time saving step that ensures my board stay aligned during glue up

Yes, I know the Festool Domino is beyond what most hobbyists are willing to invest. It’s still a great tool and may be worth the investment. A quality biscuit jointer is a good low cost option that can do may of the same things.
Step 4 Glue and Clamp it Up
When you glue up a tabletop you need to do two things.
Press the joints tightly together
Hold the top flat to prevent the joints from slipping or the top buckling.
Once you get everything held in place I like to use saw dust to remove all the glue squeeze out I can.

My Wall Mounted Panel Clamp is just a combination of inexpensive pipe clamps to press the joints together and 2” angle iron to hold the top flat.
Step 5 -Sanding
We use 4 primary grits in my shop:
40grit - aggressive flattening and leveling
80grit - moderate flattening and leveling
120grit - smoothing (you can stop here for paint grade work)
180grit - final sanding before staining or clear coating
There are a few exceptions to this but we find these 4 grits are good for 90% of our tables.
We then hand sand with 220 or 320 grit between coats of finish.
I like two main brands of sand paper.
Festool Granat - simply the best paper I’ve found and it can be used on none festool sanders
Mirka Sandpaper - this is a great all purpose sandpaper at a great value available in many grits
Thanks for reading and watching! If you haven’t already join our private Facebook Group, The Recreational Woodworker, to be part of our community.